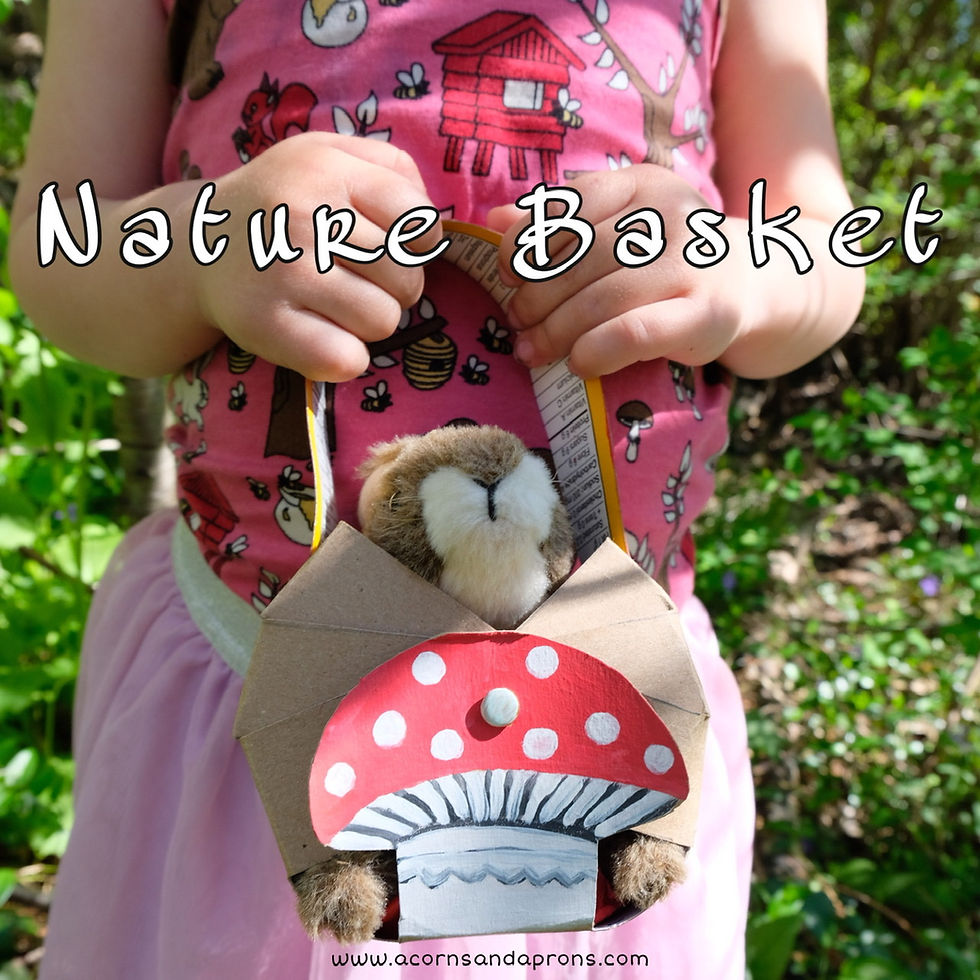
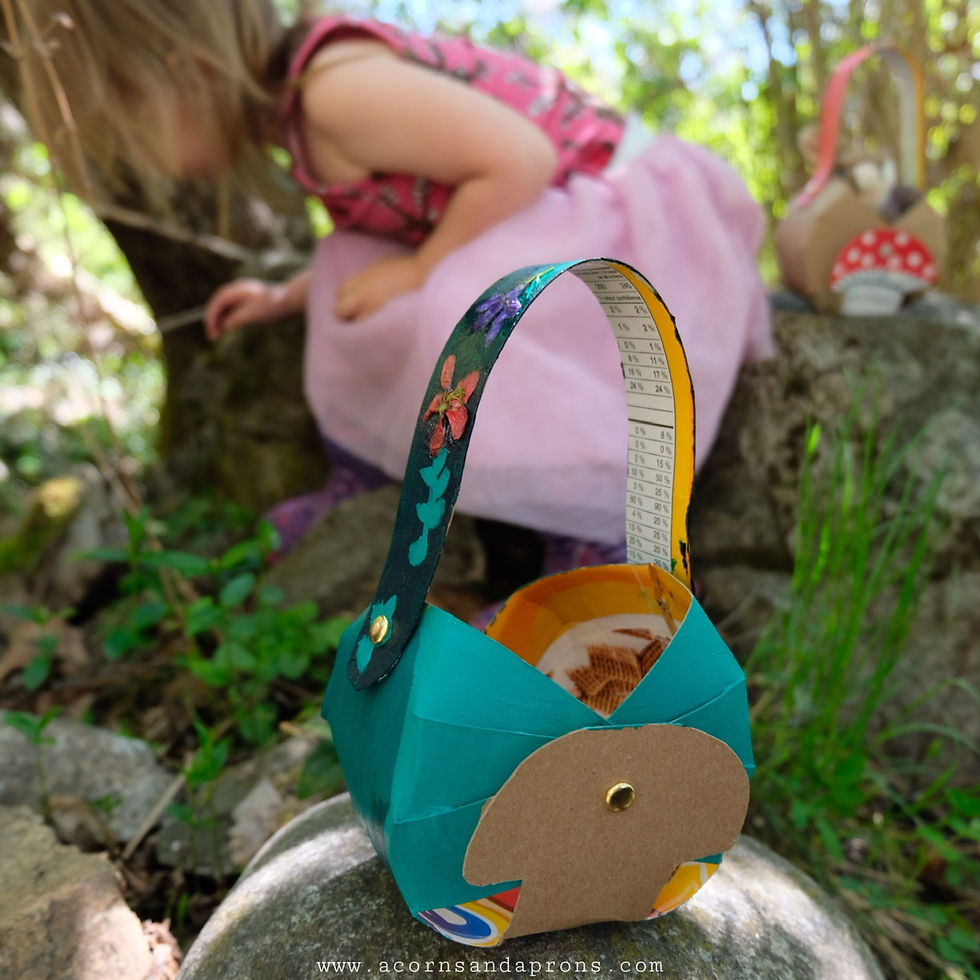
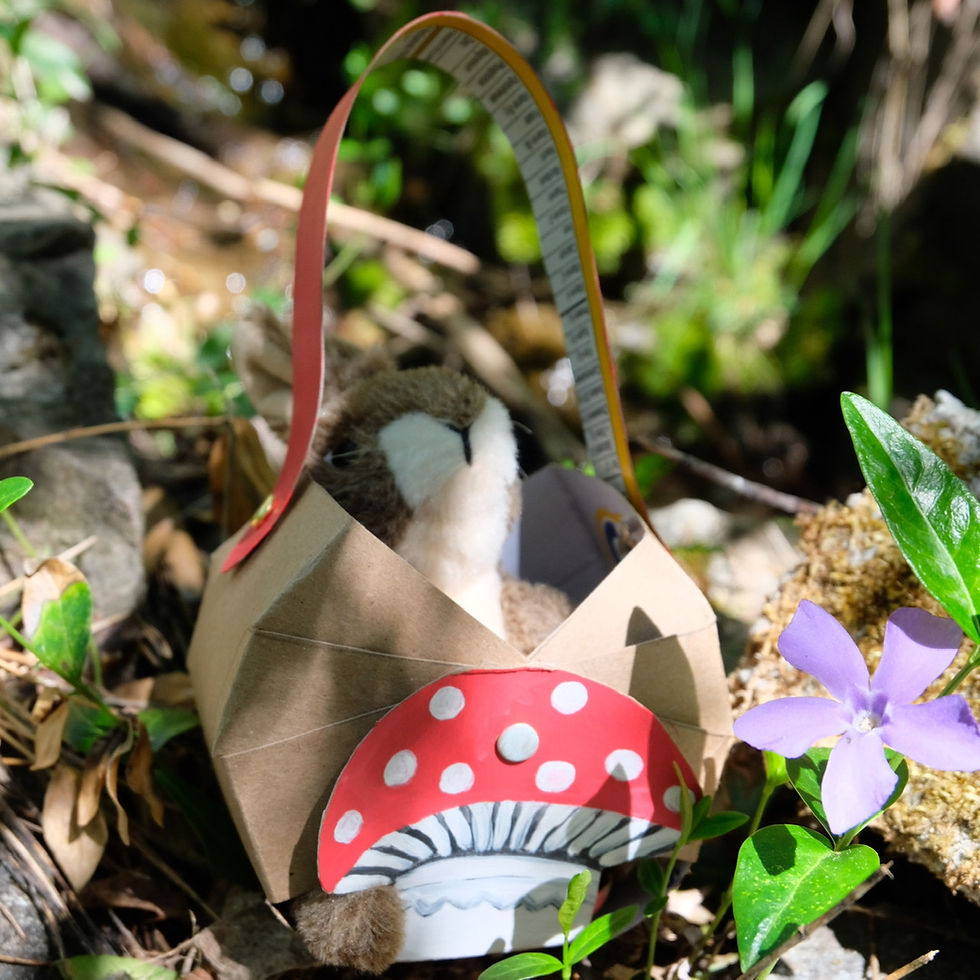
Art and Crafts is a passion in our household but often Crafts are something you make, not necessarily something you can play with afterwards. We love to give our crafts a purpose, either by creating learning crafts or toys that can be played with. We believe that these baskets do both! Collect items you find in nature and add them to your basket, as you take a nature walk in the woods. Learn about different kinds of mushrooms or other natural items you collect along the forest floor. You could also use these baskets in pretend-play, our youngest loves carrying her small stuffy in them!
We made these adorable nature baskets out of a cereal box that you would otherwise recycle. Recycling materials into a beautiful craft brings us great pleasure. Not only is it an environmentally friendly way to go about crafting, it’s also nice to have the materials readily available and essentially free. That is why we love these cardboard baskets so much! There is no glue required and you only need a few materials to create this beautiful craft.
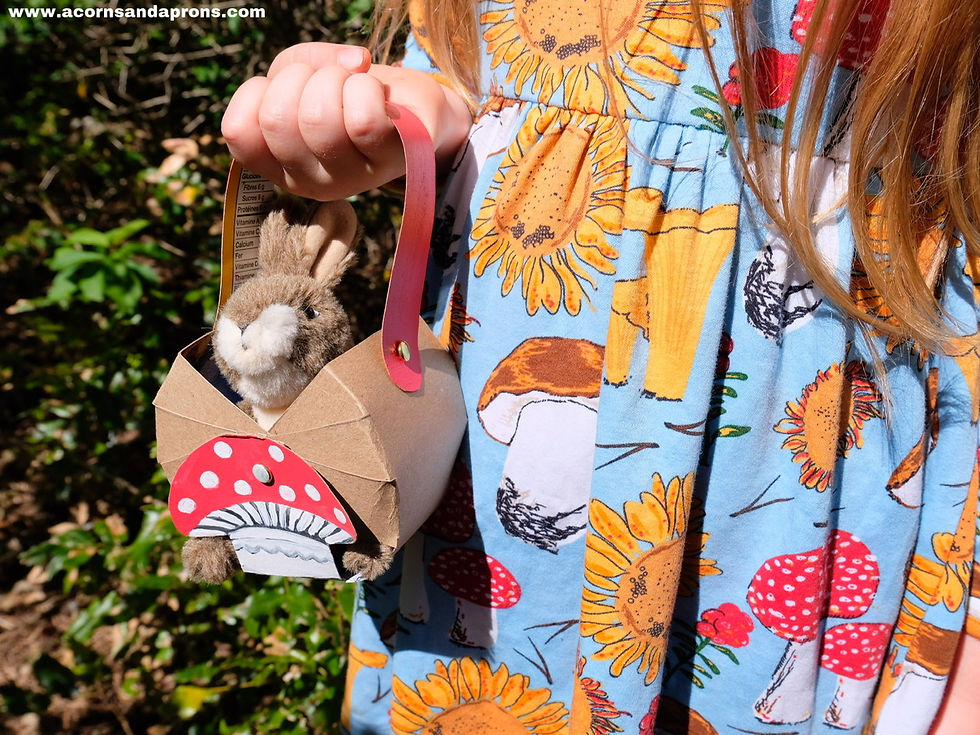
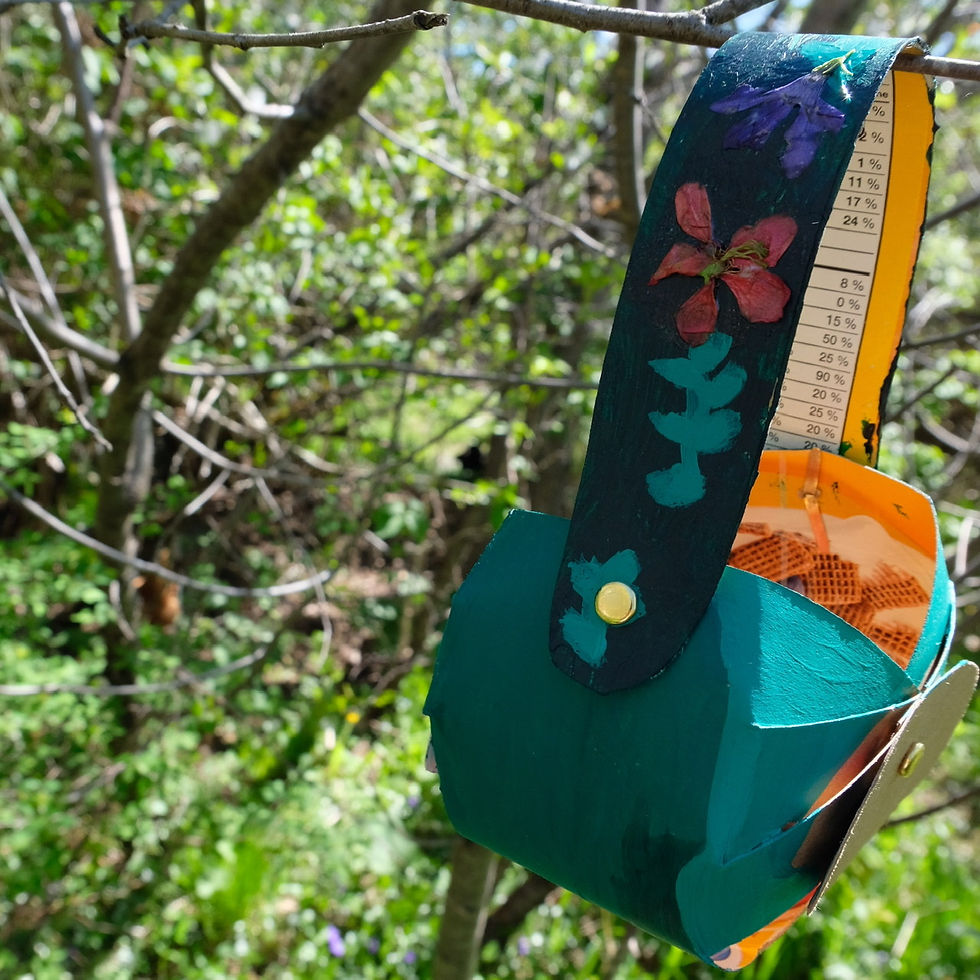
Add creative details by painting it, or add dried flowers. We recommend that you keep the inside free of paint, ifyou wish to collect edibles, like wild mushrooms or berries. Tt’s best to have the inside a unpainted cardboard material.
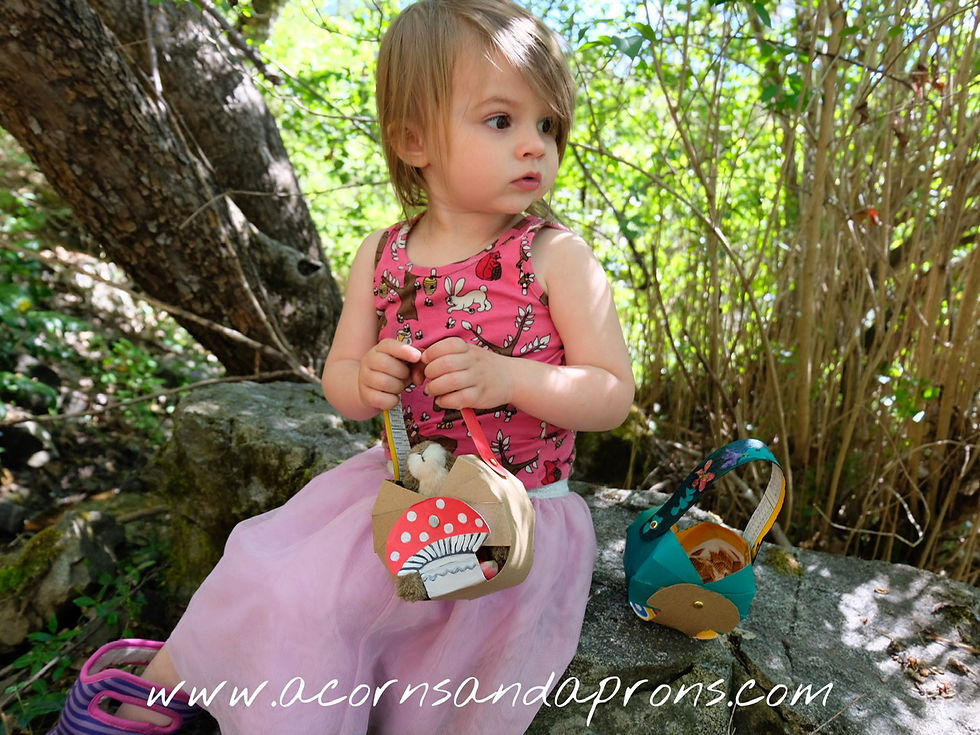
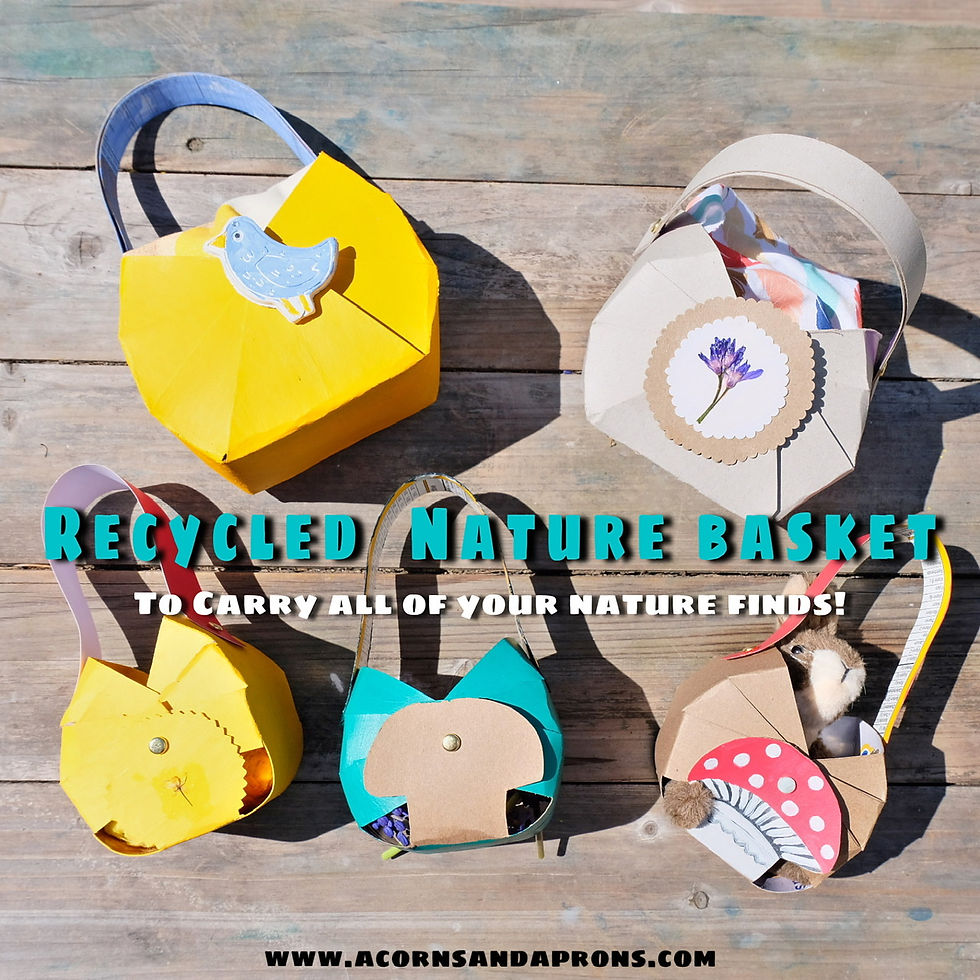
These baskets are perfect for wild mushrooms especially! You can create a wild mushroom basket, a flower themed basket, a pinecone basket, a sun or anything else you wish to create. As you scroll through this blog post, we will show you the different themes we have made in hopes that it will inspire you,
We have included a few free templates to download and use. You can also use it as a reference to help demonstrate how to draw your own!
In this blog you’ll find step by step visual guides to walk you though the construction on how to make these nature cardboard baskets!
Materials:
A cereal box, regular sized or extra large
4 paper fasteners
A pin (or use scissors) to create a hole
Scissors
Washable paints or Acrylic Paints
A small and medium paint brush
Glue (if desired).

Steps:
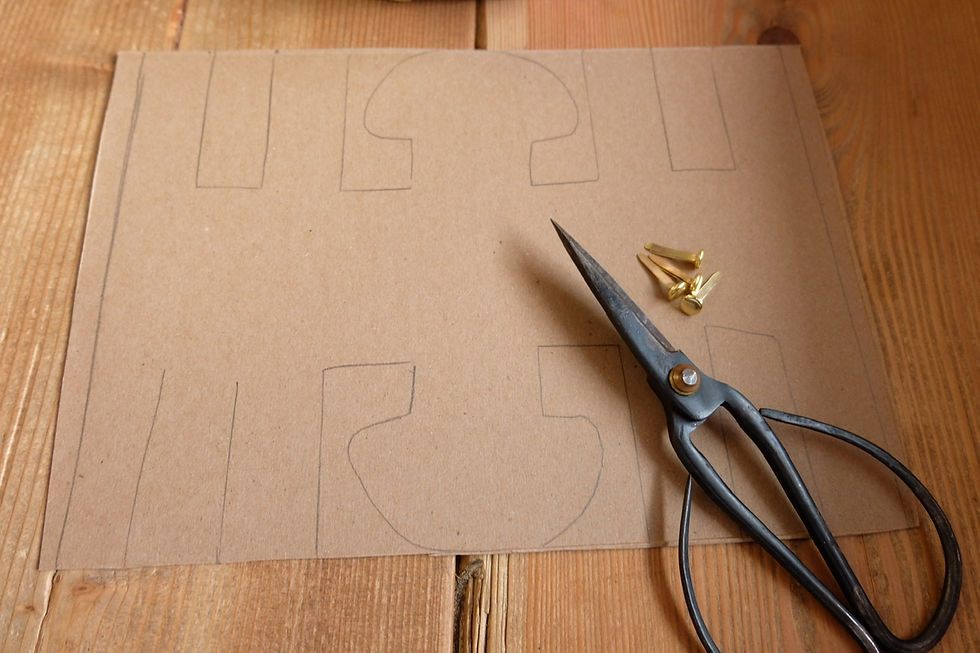
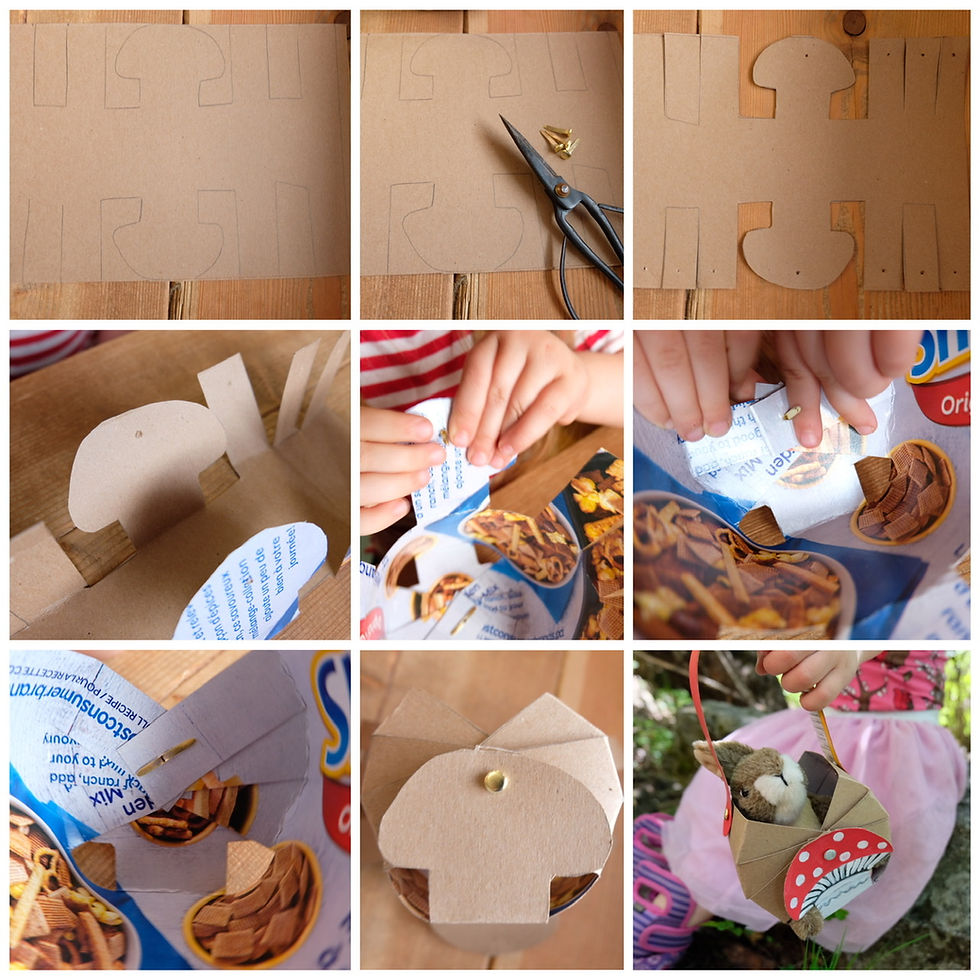
Step One: Draw out this easy template onto one side of a cereal box. Bigger boxes mean bigger baskets. You can put a simple mushroom design in the middle, or a circle or a triangle, or whatever you’d like!
You can print this template directly from here or visit our printables section and download it there.. This is free to use but with copyright restrictions.
Enlarge your template to fit larger cereal boxes, if needed!
For the templates: Fold along the dotted line and cut along the solid lines. You can either Trace the template onto the cardboard after you cut it out or tape the template down onto the cardboard, cut it out and remove the template.

Step two: Cut out the template. Cutting a rectangular shape. then the mushroom, and the two slits on both sides of the mushroom, do the same for both sides.
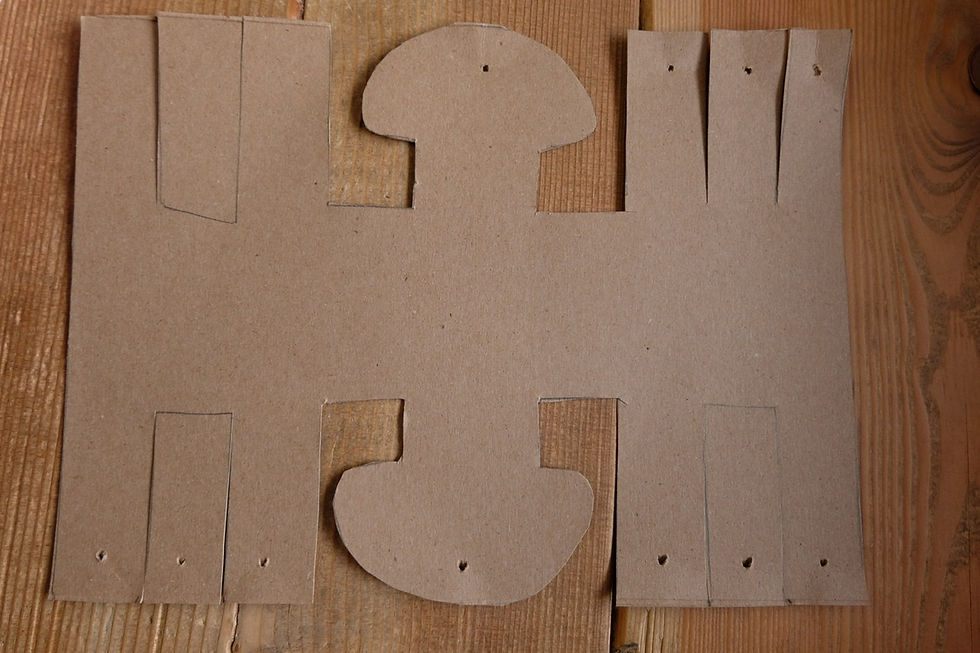
Step Three: Make holes into all 12 rectangle pieces and on the mushroom. Make the hole with a pin about half an inch from the edge.
Step Four: Fold the cutouts inwards, so that you make a crease. These are the sides of the basket, leaving the bottom part flat. This step will aslo help you flod the side in towards the middle.
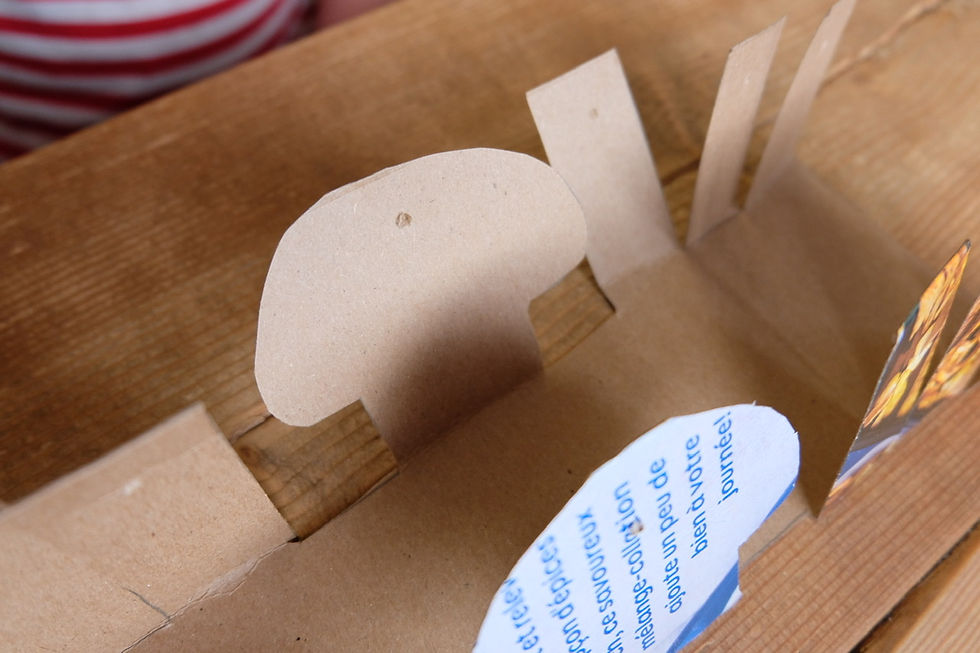
Step Five: Place your first paper fastener through the middle hole on one side, the hole that is on one of the mushrooms.
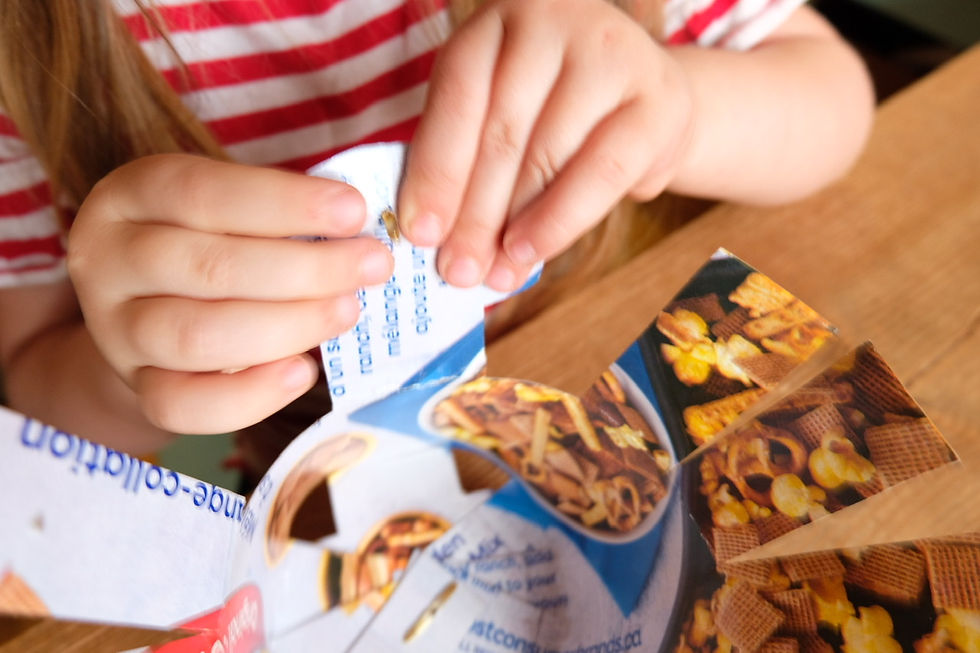
Step Six: place the next two holes to the right and left of the mushroom through the paper fastener.
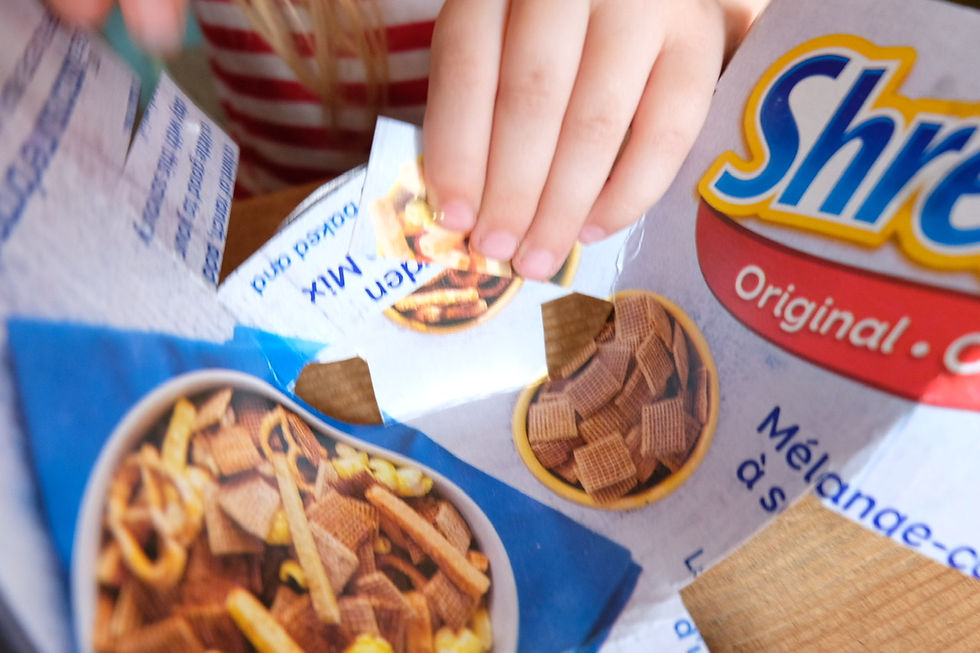
Step Seven: Now place the next two holes, the rectangle strip on the right and the one on the left.
Step Eight: Place the last two holes into the fastener, the remaining rectangle-shaped cutouts at the ends.
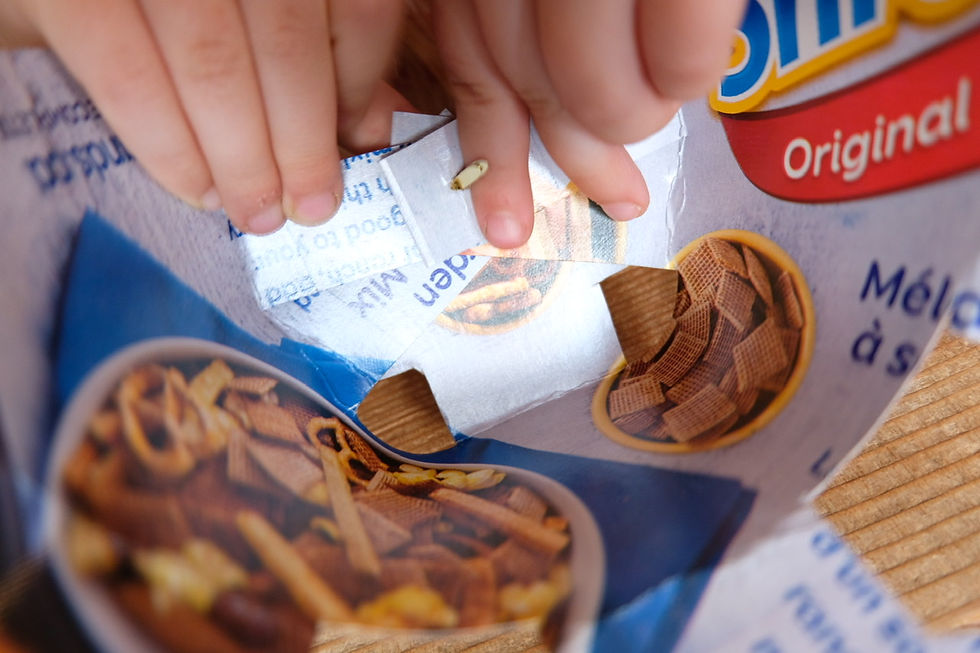
Step Nine: Close the paper fastener. You now have one side complete.
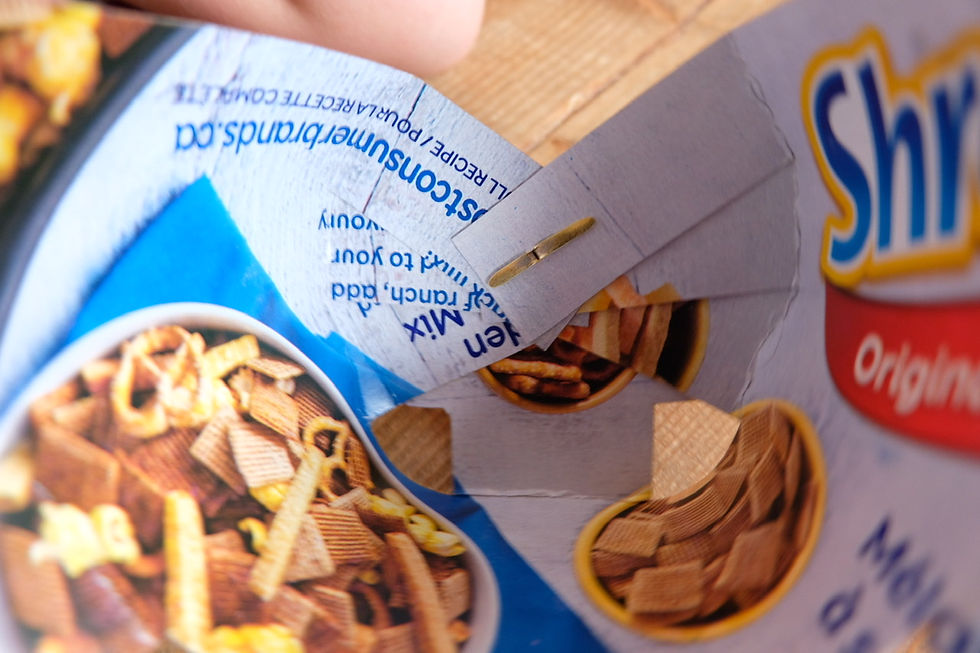
Step ten: do the exact same steps from 5-9 to the other side, placing each hole starting with the middle and working your way outwards. until they are all in the paper fastener, then close the fastener by pressing the two metal parts down.
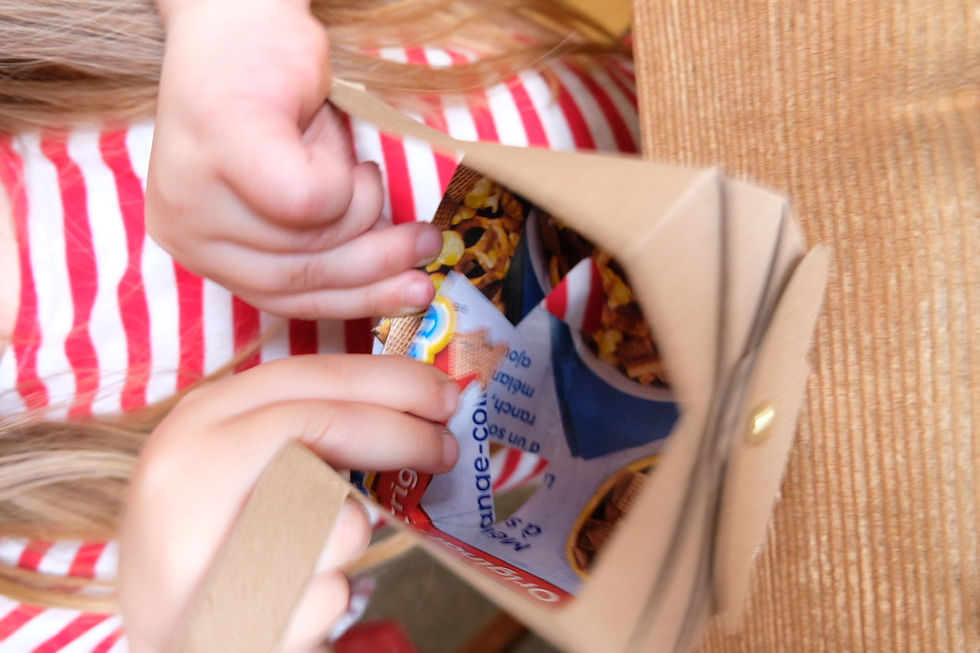
Your basket is now constructed and just needs a handle (and some paint).
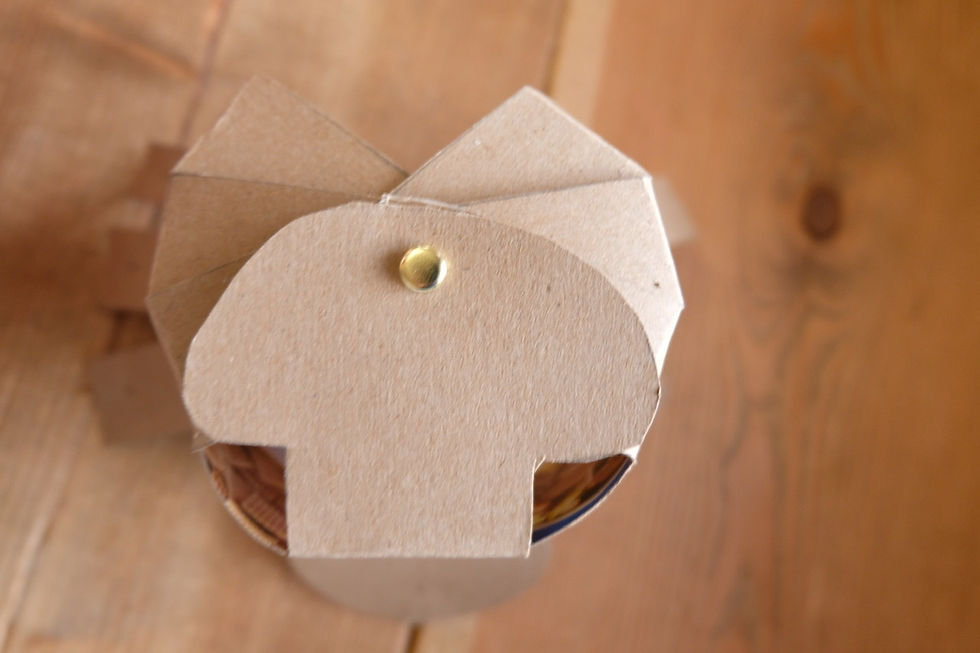
Step Eleven: cut a strip from the cereal box as a handle, about half and inch to an inch wide.
Step Twelve: poke a hole at each end of cardboard strip, to put the paper fastener through.

Step thirteen: Poke two holes on each side of the bag. About an inch from the top. Then place the handle with the paper fastener onto both of the sides and close the fastener.
You can add one handle or two.

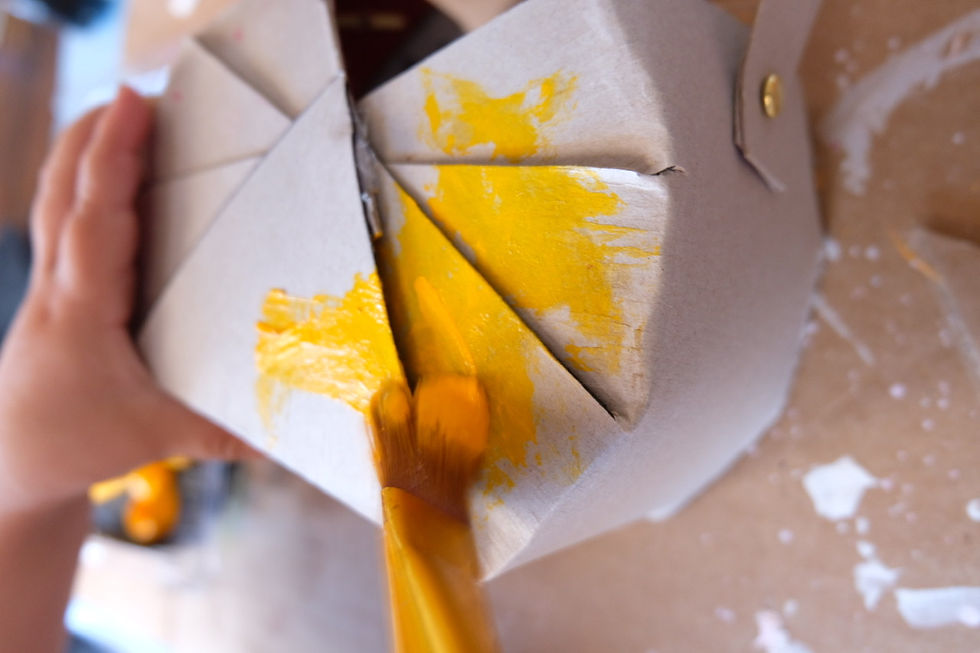
Step Fourteen: Now it is time to paint your basket, if you wish!
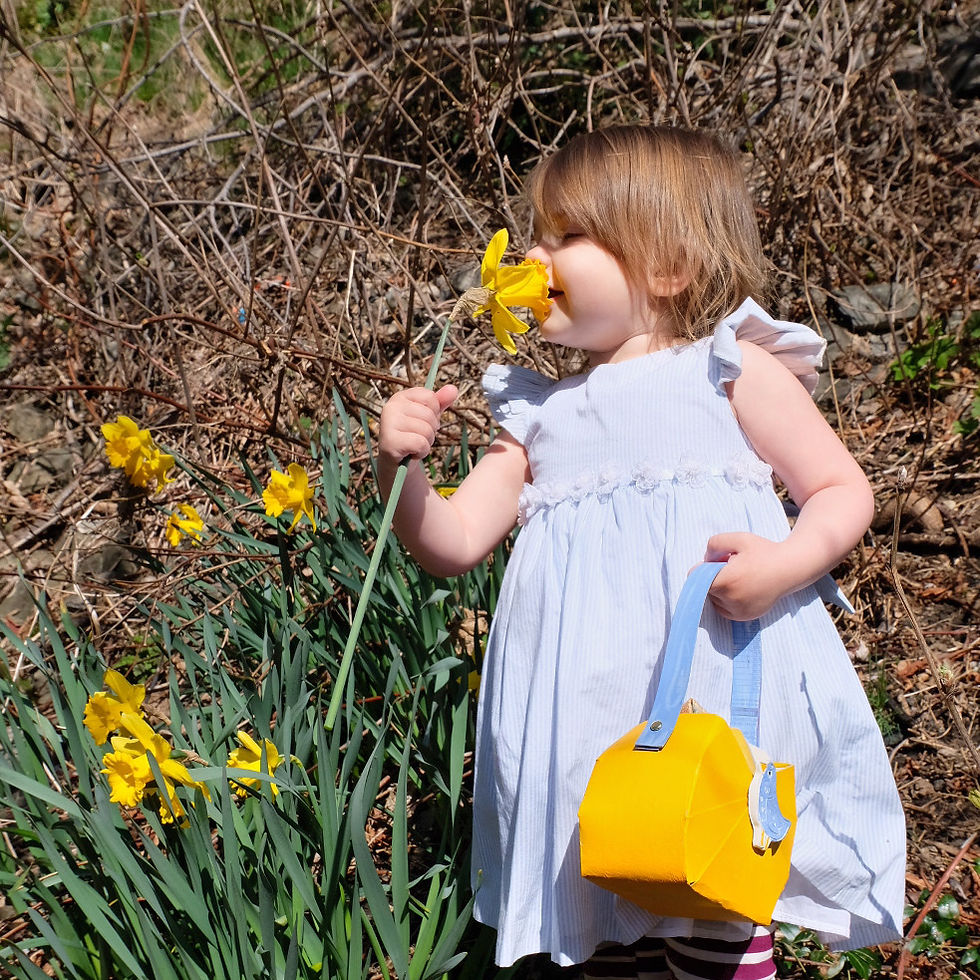
All finished! Get outside and explore in nature with your nature basket!

If you don’t have paper fastener handy and prefer to glue it, just glue the parts on one side and fold them into the middle. Use a clip to hold it into place until it dries.

Recap of the steps:
Check out the SUN basket that we made! We use this to collect yellow nature finds! It’s like a colour matching game,
Maybe you’d like to add a clay embellishment, we used a painted bird ornament on one.


Here’s Another design we made using a circular cardboard piece over the middle and glued a dried pressed flower onto it. We made this basket for our red riding hood dress-up pretend play.


The basket above has no paint and is Au Natural! The mushroom-themed basket below doesn’t have every part painted. Don’t be afraid to leave parts of it natural cardboard.
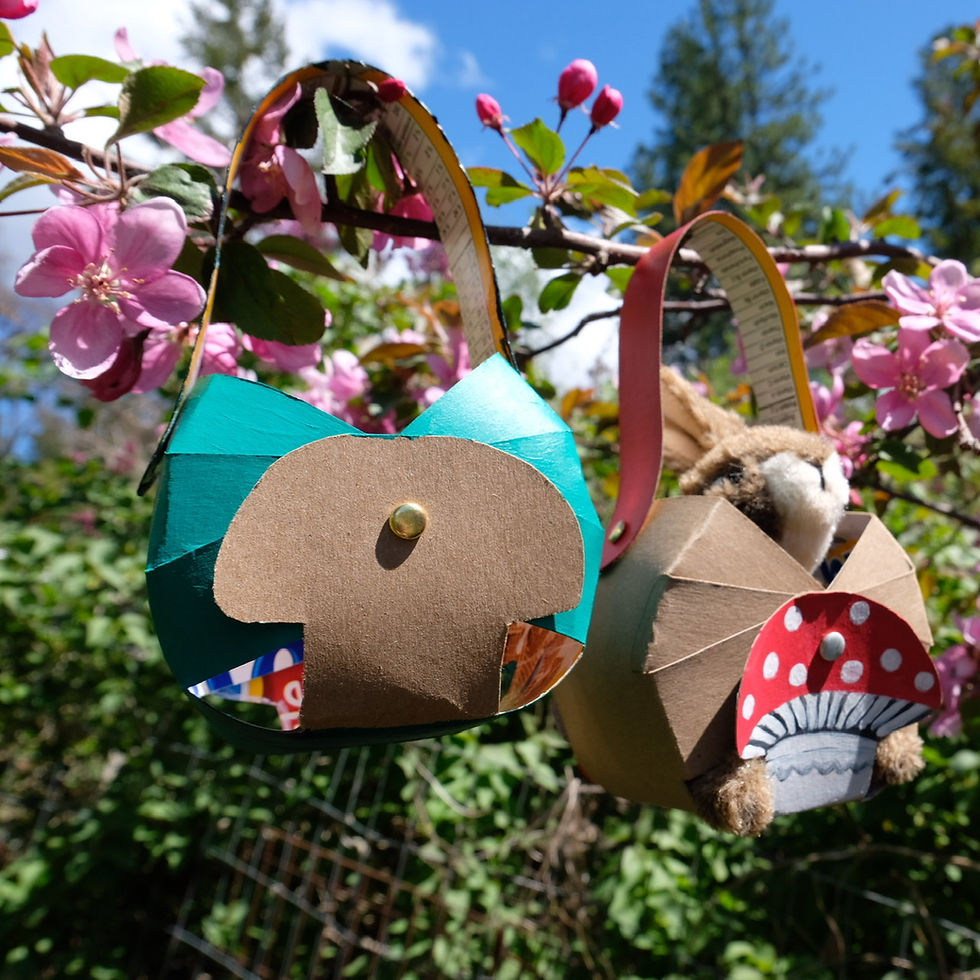
The kids love these nature baskets! They are the perfect size for little hands and they are small enough so they don’t overfill them and get too heavy.

We hope you enjoy creating this useful recycled cardboard Nature basket, feel free to tag us on Instagram @acorns.and.aprons if you create it and we may feature your creations on our blog or social media.
Happy Nature Hunting!


Comments