- acornsandaprons
- Feb 10, 2021
- 4 min read
Updated: Dec 19, 2022

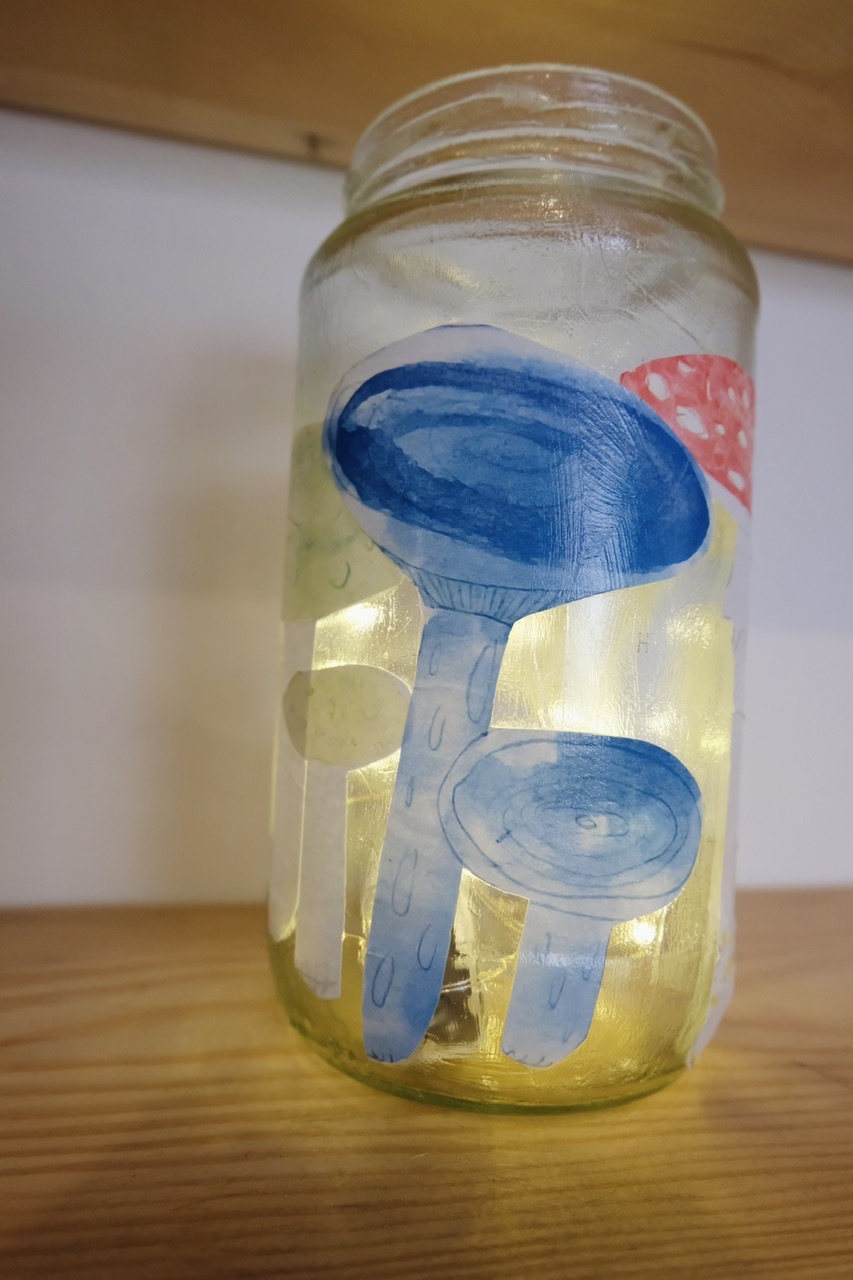
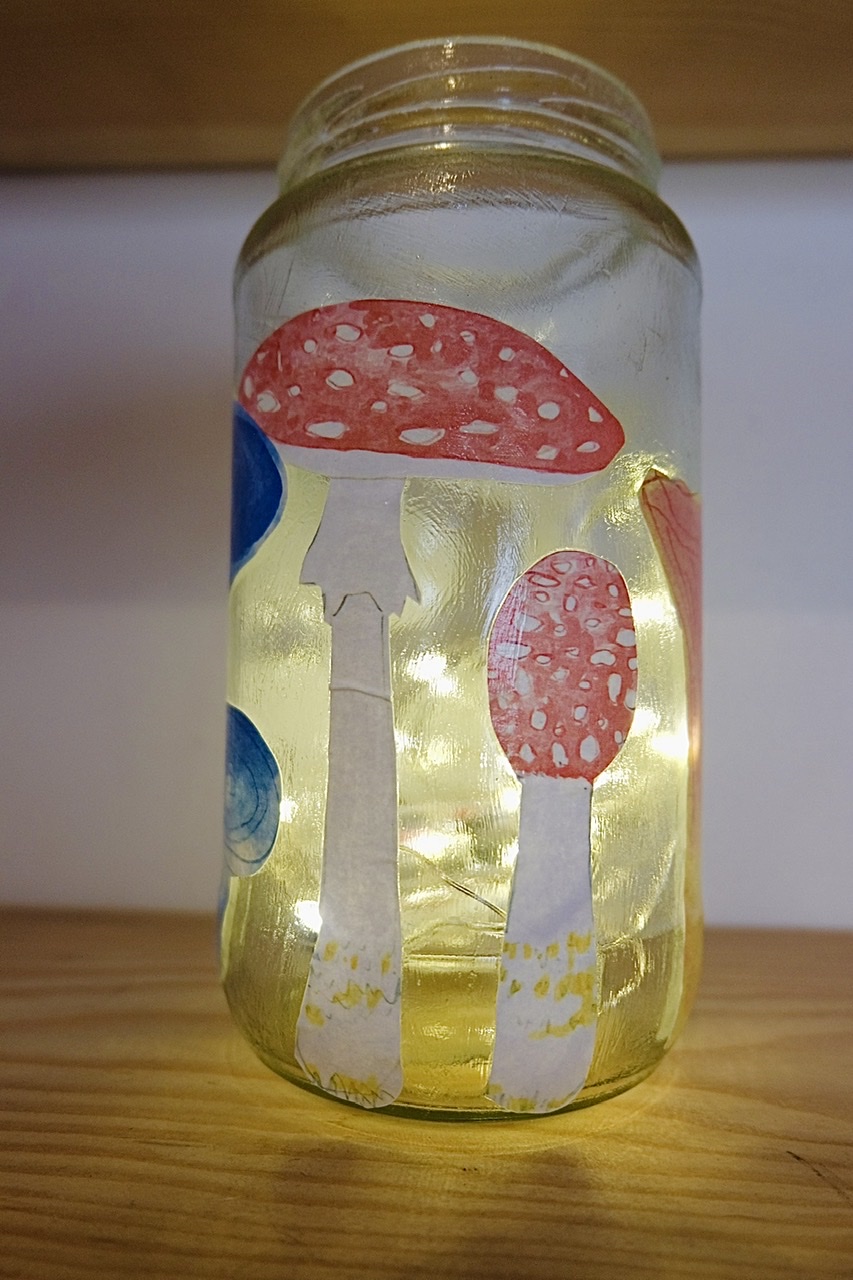
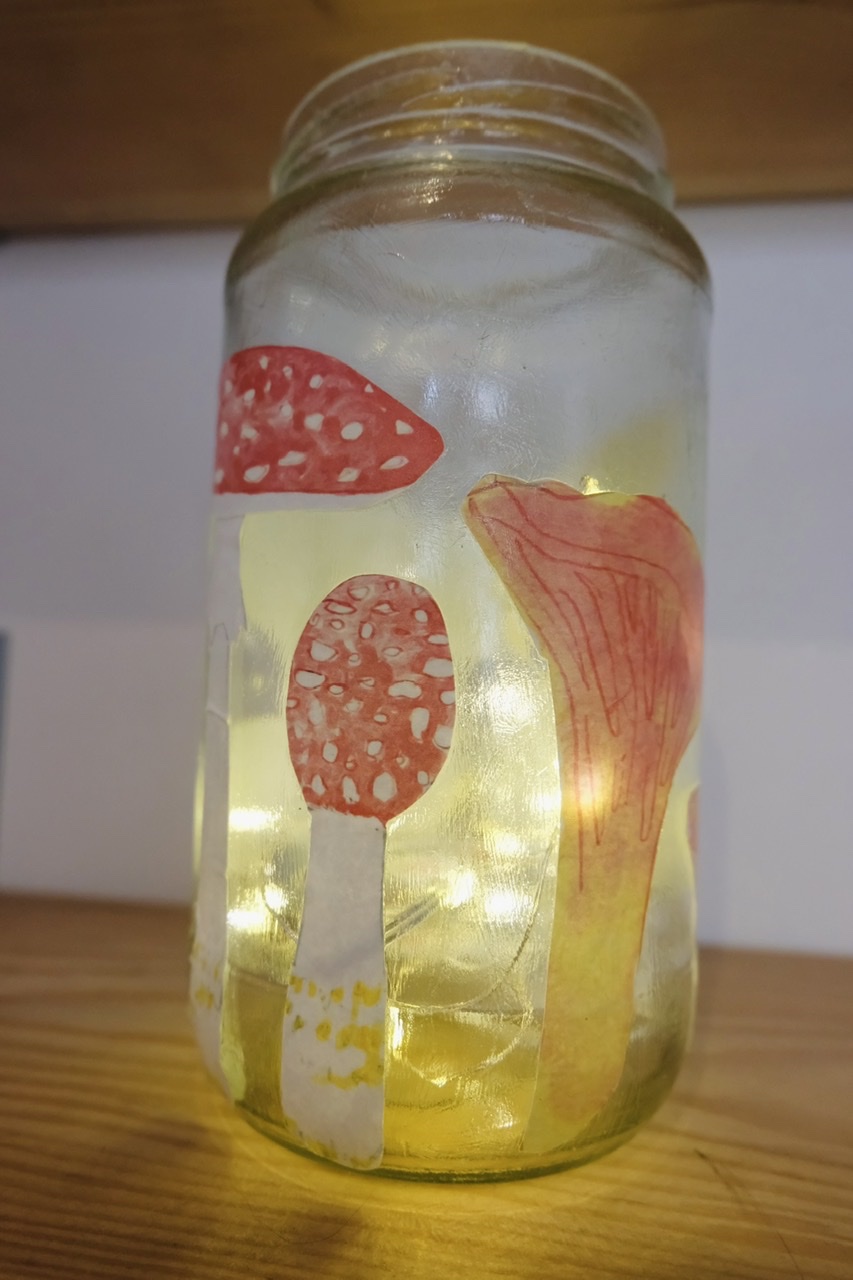
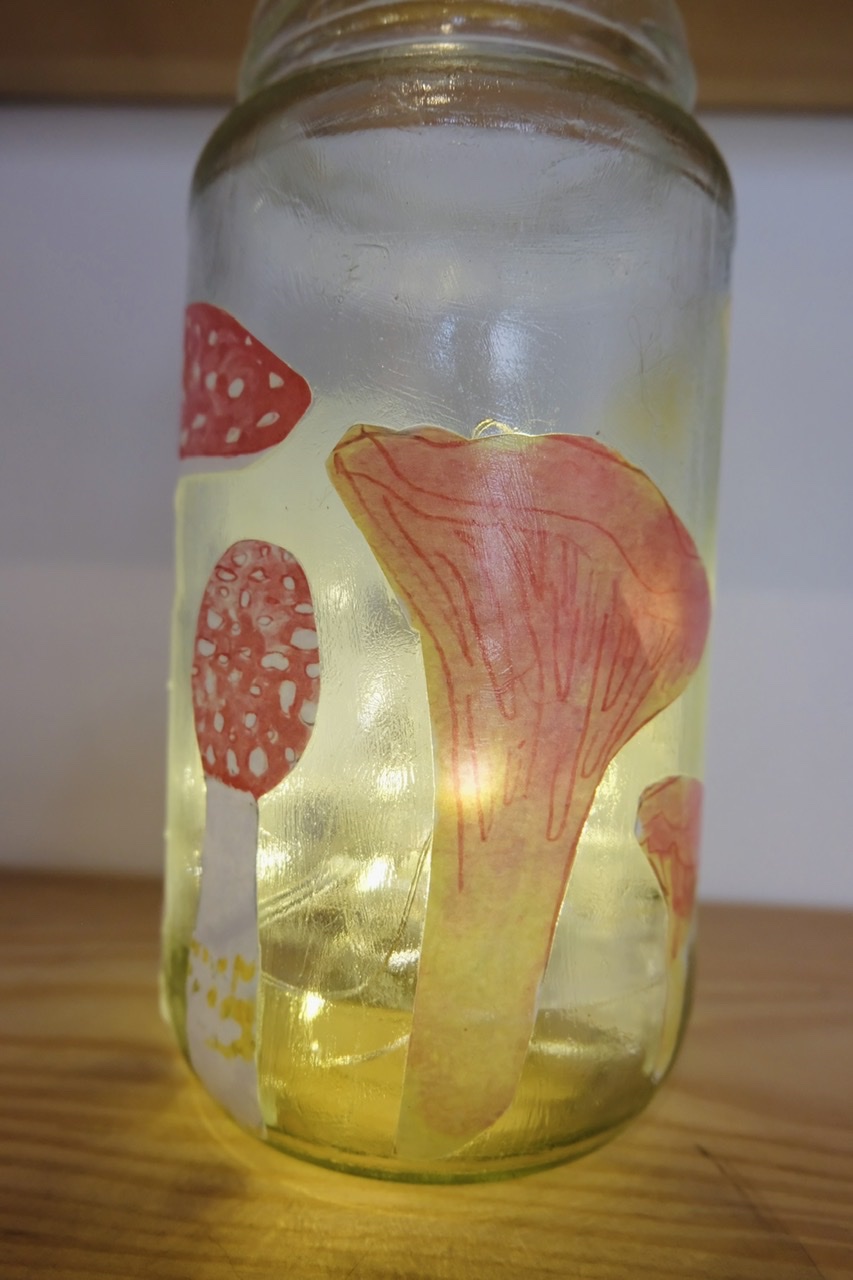
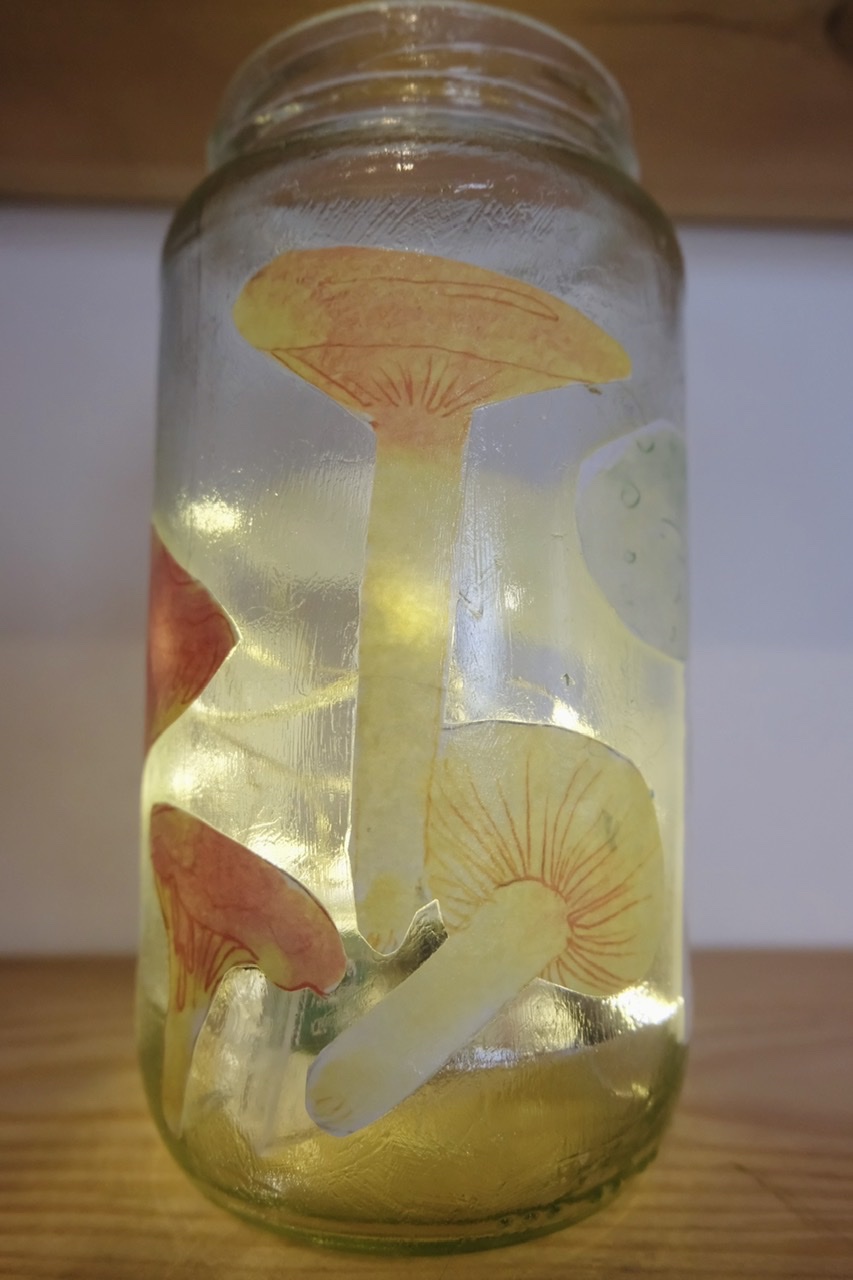
This beautiful Rainbow Mushrooms jar lantern is designed to replicate real woodland mushrooms you would find on the forest floor.
In this blog, we have included everything you need to create this colourful Rainbow Mushrooms Jar Lantern. A step by step visual guide, written directions and a free watercolour painted rainbow printable created by Acorns and Aprons.
Teaching and memorizing different types of wild mushroom can be difficult because there are so many, with a vast range of characteristics. This craft is a fun way to learn a bit about the variety of wild mushroom. The lanterns are designed to help children identify wild mushrooms easily by categorizing them according to the colours of the rainbow.
Use our free watercolour rainbow mushroom printable;
cut the printable and glue the paper directly onto a glass jar
trace the printable onto tissue paper to create your lantern.
draw your own mushroom design and use it as a reference.
Have fun exploring colours and the magical world of fungi identification. Create this craft after looking through mushroom guide books to create a full teaching opportunity.

Just a serious note, some mushrooms are poisonous and even one bite can be extremely dangerous to a small child. If you would like to forage for edible species, It’s best to go mushroom hunting with a local expert, and always keep a close eye on your child so they don’t inadvertently eat a piece of a potentially poisonous mushroom.

Materials:
Glass Jar - Jam, pickles or sauce jars work well.
Coloured tissue paper
A pencil
The rainbow mushroom printable (optional)
Mod podge
A large paint brush
A push pin or pin or hole puncher - for fly agaric mushroom holes.
A piece of hemp for handle (optional)

These DIY Jar lanterns are a fun way to make use of some old jars around your house by Up-cycling your jam and pickle glass jars into beautiful handmade lanterns.


Visual Directions:
Steps:
Trace the free rainbow Mushroom Printable using a pencil onto tissue paper, matching the colours to the image.
Cut out the traced mushrooms.
For the red Amanita Muscaria, cut out the white holes with a push pin or hole puncher. We used a pushpin. You can create the holes before you place it onto the jar (see images), or while it’s on the jar still wet you can use the pushpin to create any shape you want by scratching out the area you don’t want.
Get a clear glass jar (with the label removed) and apply mod podge using a paint brush directly onto the jar.
Place the first mushroom onto the glued glass jar, making sure it lays smoothly. We started with the red mushroom and then worked our way down the rainbow.
Brush over the mushroom again using the glue and cover it entirely. It will dry clear.
Glue the next mushroom directly beside the first mushroom. Make sure you measure out where each one will go and how far apart you want them to be. If the jar is too small they might not all fit. Space them close together to ensure that they fit. You can also resize the printable and print it larger or smaller depending on how you envision your lantern.
Keep placing the glue first and then the mushroom and then brush it again with glue.
When they are all glued on, go over the jar one more time with glue lightly, making sure you get every spot so that even the clear areas have a neat texture to it.
Allow the glue to dry.
Done! Now Place a candle in your lantern and light it up.
Scroll down for the steps on how to secure a handle.

Mushrooms we used for the rainbow:
Red: Fly Agaric (Amanita muscaria)
Orange: Golden Chanterelle (Cantharellus cibarius)
Yellow: Yellow Waxycap (Hygrocybe flavescens)
Green: Green Russula (Russula cyanoxantha)
Blue: Indigo Milkcap (Lactarius indigo)
Purple: Violet Webcap (Cortinarius violaceus)


We ended up not adding a handle to our jar lanterns this year since the lantern festival was cancelled. Instead we displayed our lanterns in the snow and on our shelf. but you may want to add a handle, if you plan on carrying yours:
Tie a piece of hemp cord or string around the top of the jar where the ridges.
Leaving a long piece of string,
Once the string is secure, take the extra string and tie it to the opposite side of the jar opening by wrapping it under the string that you tied around in the first step.
tie a secure knot Until it’s secure
OR
If it is a mason jar, you can tie the string to both ends of the metal ring lid and then screw on the ring metal part back onto to the jar. Don’t use the metal circle, just use the ring, leaving a hole for the opening.

Free Printable by © Acorns and Aprons 2021.
To download this Rainbow Mushroom Printable:
go to the freebies section on main menu.
You can use this free watercolour mushroom printable several different ways:
As a reference for your own drawing .
Trace the mushrooms onto tissue paper to create the tissue paper lanterns.
Cut the printout and glue it onto the lantern instead of the tissue paper, see images below.

Real woodland mushrooms found in the forest:

Create the mushroom jar lantern using our free printable and cutting each mushroom out and gluing it onto the jar the same way that you would glue the tissue paper; By applying the glue directly onto the glass jar first then placing the mushroom were you would like it to go. Place them close together to fit them all, or create a separate lantern for each mushroom.
Create a DIY Backyard Lantern display, if you make more than one lantern and show off your homemade lanterns:


We hope you have fun creating these Rainbow Mushroom jar Lanterns. If you want to tag us on Instagram @acorns.and.aprons, we will feature your lantern as a story or email your creations to acornsandaprons@gmail.com to share your creations and let us know if you wish to have your creation shared.
These rainbow Mushrooms were from our rainbow mushroom fans that we created, visit that blog to create the rainbow mushroom ID fans!







Comments