


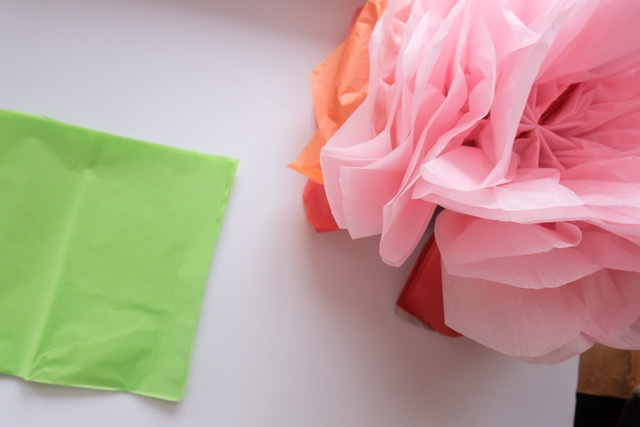
Have you ever seen a birthday Pom Pom decoration or a wedding tissue paper flower but thought they were too hard to make yourself? They are easier to make than you might think! They are also more eco friendlier than balloons because they are compostable, so next special occasion swap out balloons for these diy paper tissue flowers!
We added a bit of a twist by turning them into cut flowers with stems that you can carry around or plant into the ground. They are magical oversized flowers to children and a special gift to the one you love. You can create these extra large flowers for special occasions, or anytime of year! Tissue paper flowers are colourful and whimsical and most importantly fun to create. You’ll want to make several once you get the hang of making one. They are very easy to make and our 6 year old made the ones in the photos.
All you need is tissue paper and a piece of thread or string, no glue or tape is required. We attached ours to a long stick that we found on a nature walk. .


Materials:
1. Coloured tissue paper
2. String or thread
3. Scissors
4. A straight stick (for the stem, if desired).


Directions:
Making a large colourful flower;
Use the full sheets that come in the package for large flowers or cut them into square or triangle shapes of any size.
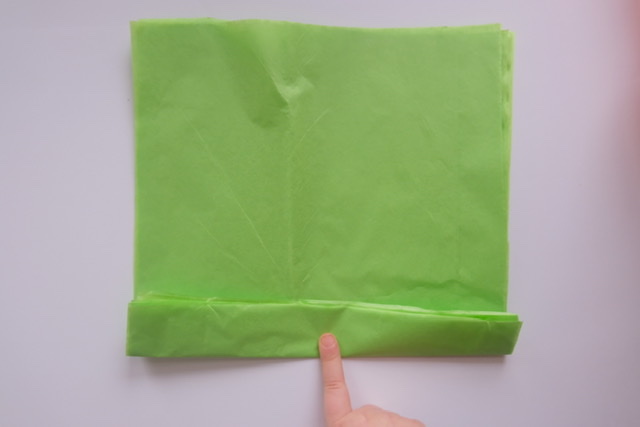
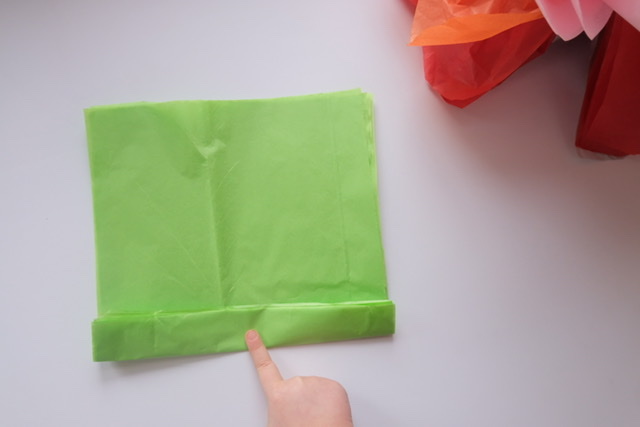
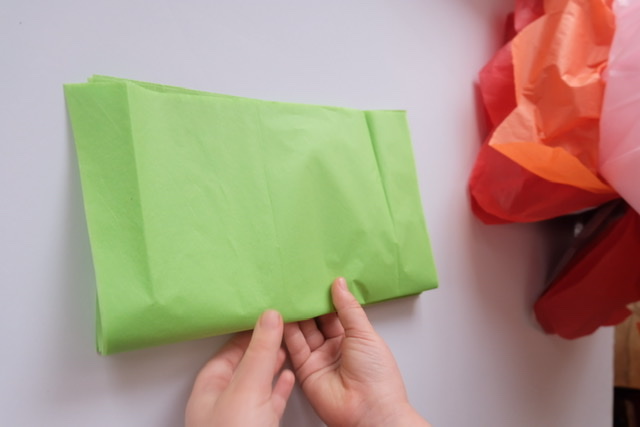
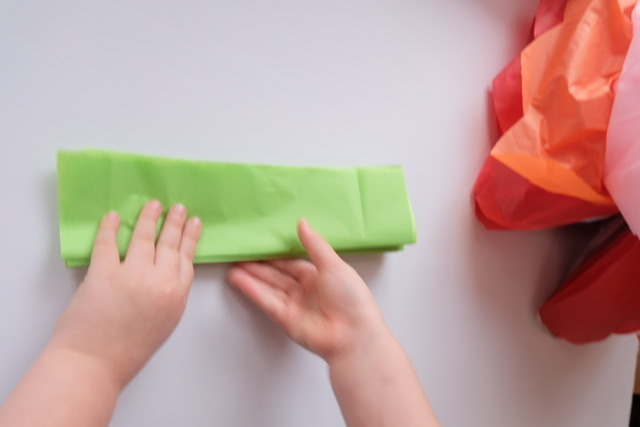
Lay flat all of the coloured tissue paper that you want to use on top of each other, 10 or more sheets work the best.
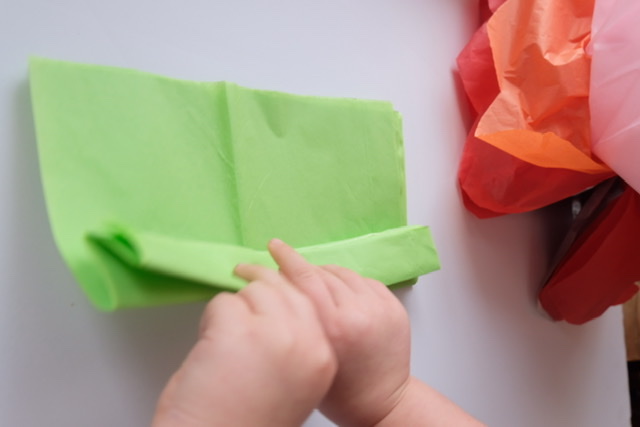
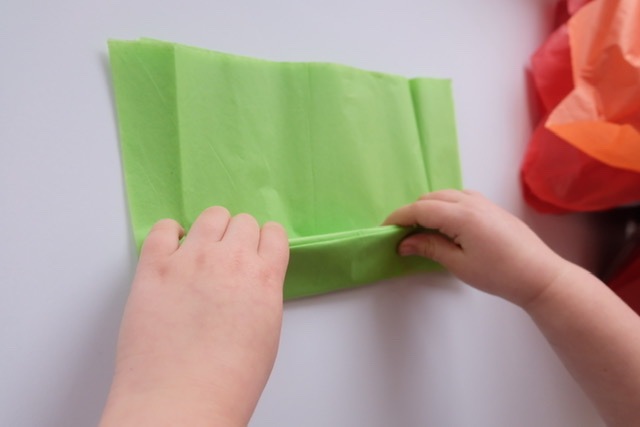
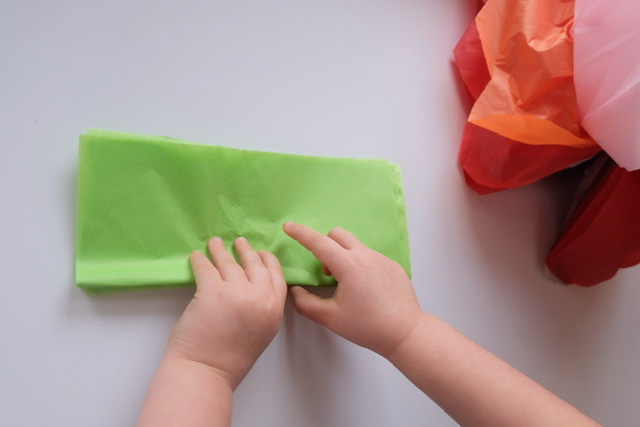
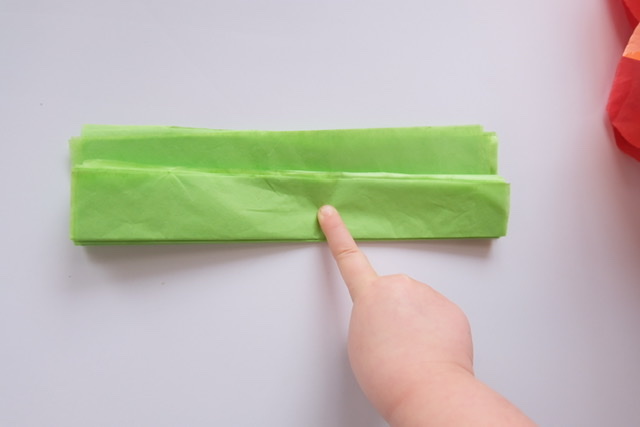
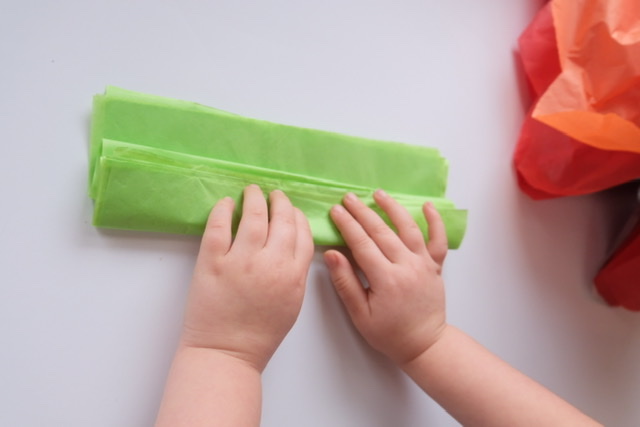
fold and flip - fold about one to two inches wide along one of the shorter sides. Then, flip the sheet over and fold again, flip, fold, flip fold. Follow this pattern until you reach the end. just like you’d fold a paper fan.
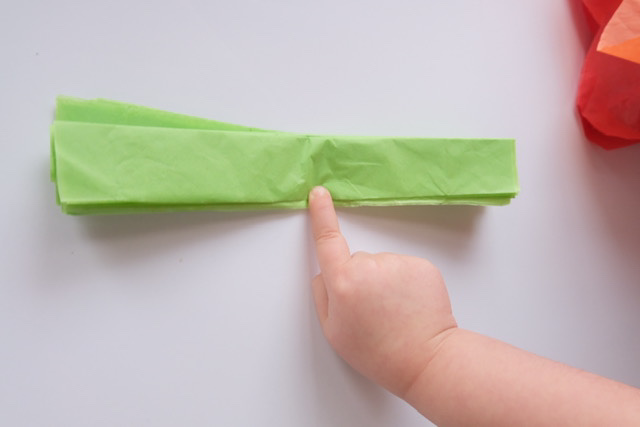
Tie a string in the middle.
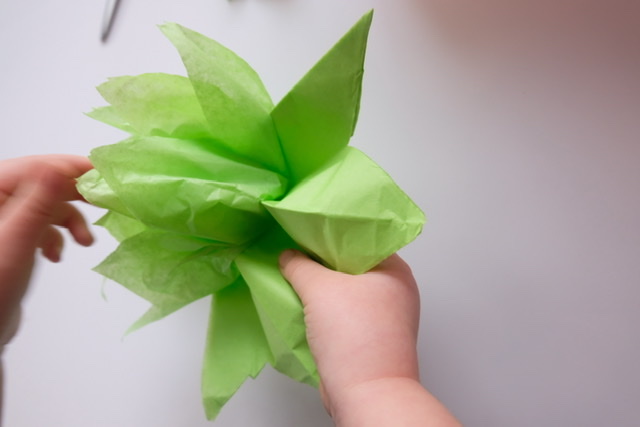
Fan out the pieces of tissue paper and lay flat.
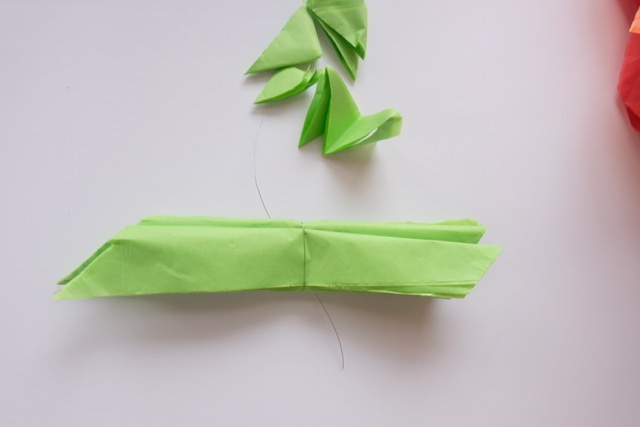
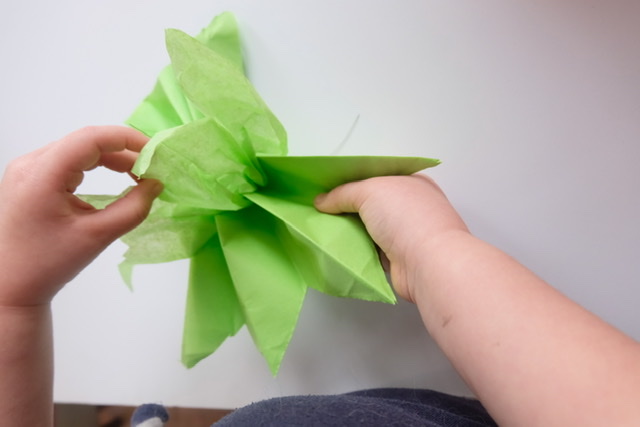
Peel back each layer of tissue paper starting at one side, one by one towards the middle. Do this carefully so that you don’t rip the paper.
Complete step 6 to both sides.
when the flower is complete, Tie on a stem made from a long stick or use a paper roll.
Round Flower: If you want a round flower then pull back one side until you are half way through the tissue paper, then flip the entire project over and fold back that same side you were working on towards the middle, mirroring both sides.


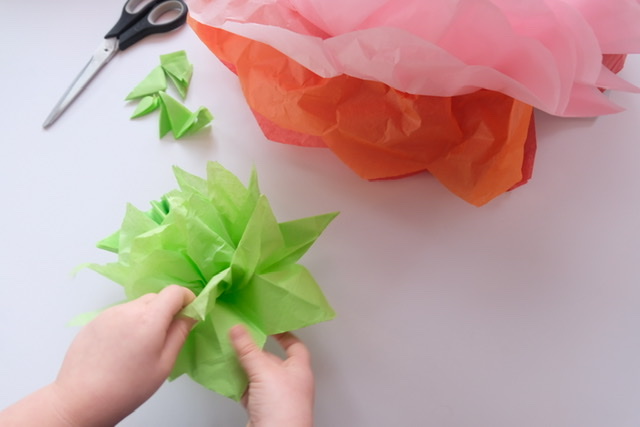
If desired, Create a smaller centre;
1. Cut out smaller squares for the centre and layer them flat onto each other.
2. Complete the same steps as the larger flower: fold and flip until you can’t fold anymore, then, tie a string in the middle, fan out the pieces and then peel back each layer one by one towards the middle on each side.


Visual instructions:


These are great for decorating birthdays or special occasions! They can also be used to create a magical garden. You can hang them inside or outside (when it isn’t raining). Use any colour you wish and make them as big or small as you want. Get creative with your flower design by mixing and matching colours schemes.

We used long sticks that measured the same height as the child using them, making huge flowers but not too overwhelming to carry.

The children love their outrageously large flowers! The flowers are in the children’s playroom as decoration but are ready to use as pretend play at any time!
Just remember that these flowers are fragile since they are made of tissue paper but can last a long time if you don’t get them wet or play too rough with them.

We hope you have fun making these beautiful tissue paper flowers! Feel free to tag us on Instagram @acorns.and.aprons if you make this huge beautiful flowers, and we’ll feature it as a story.

Comentarios